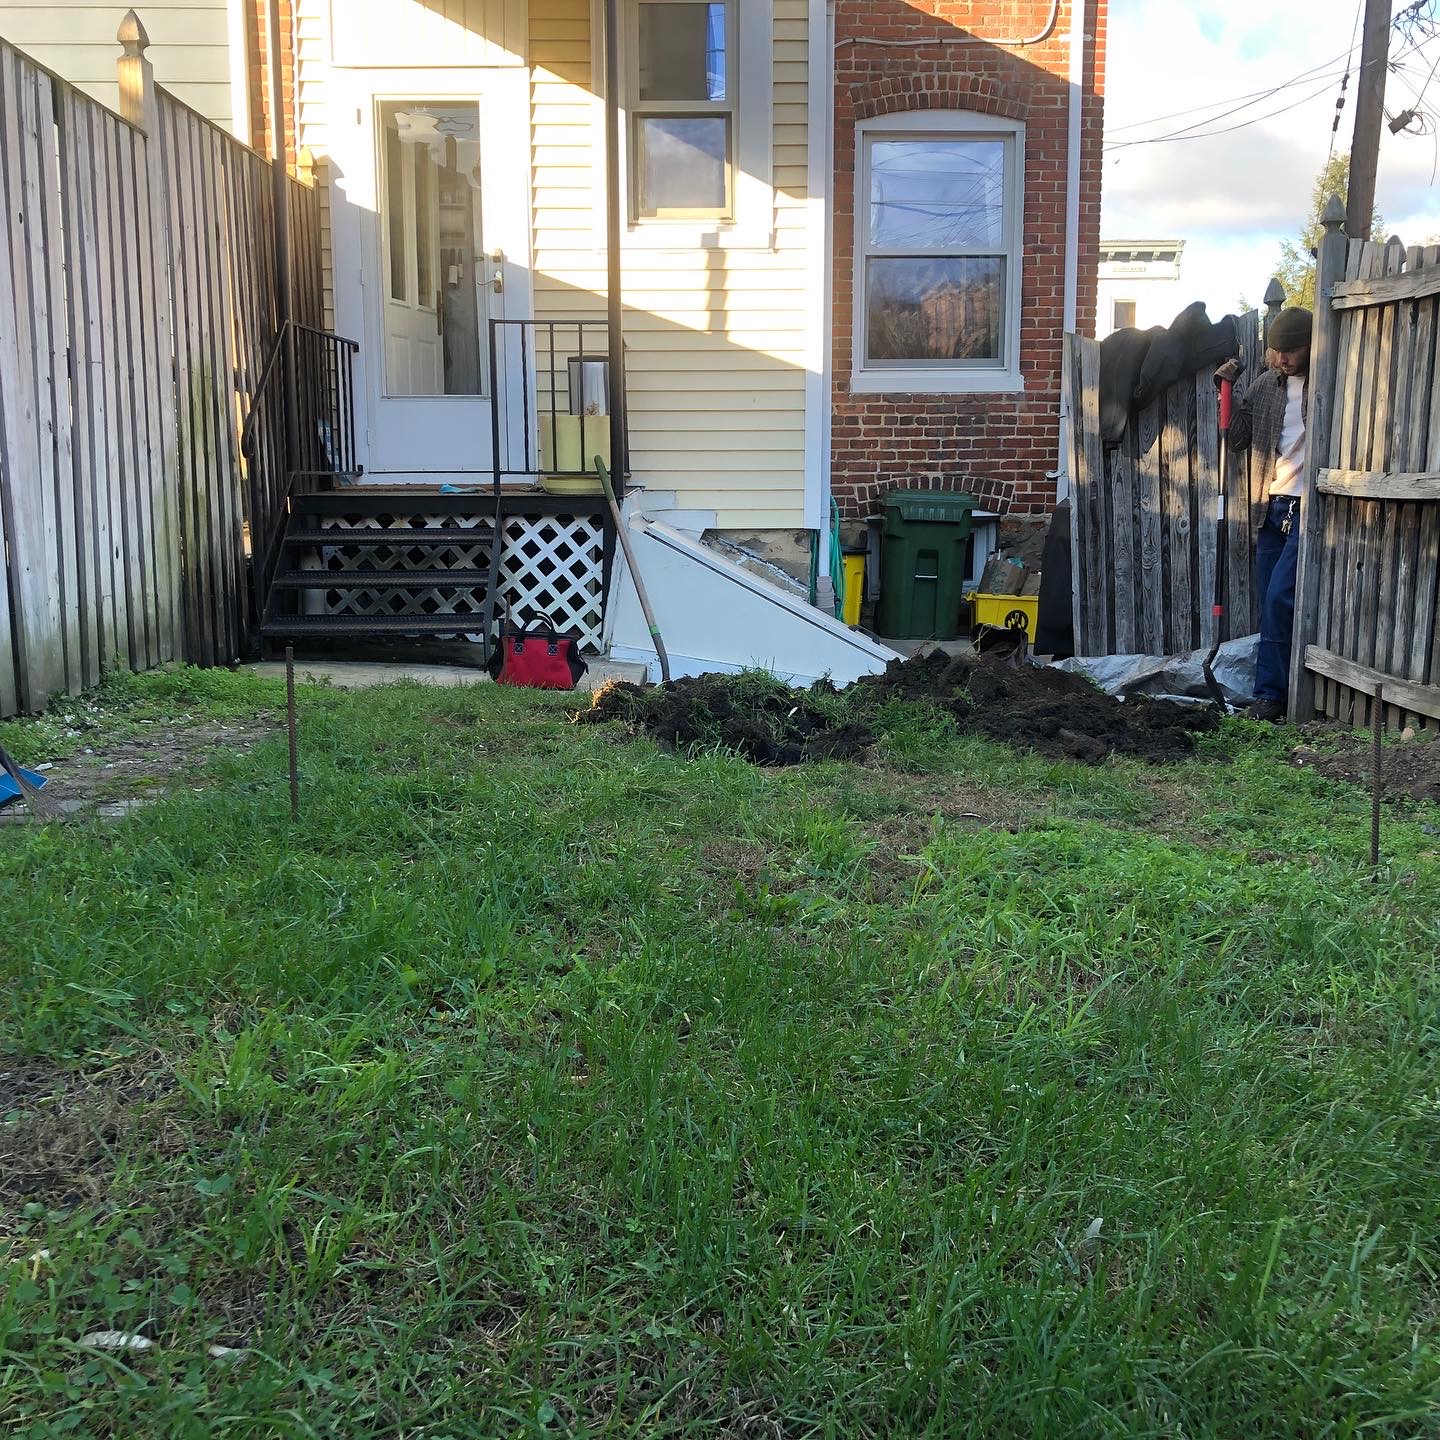
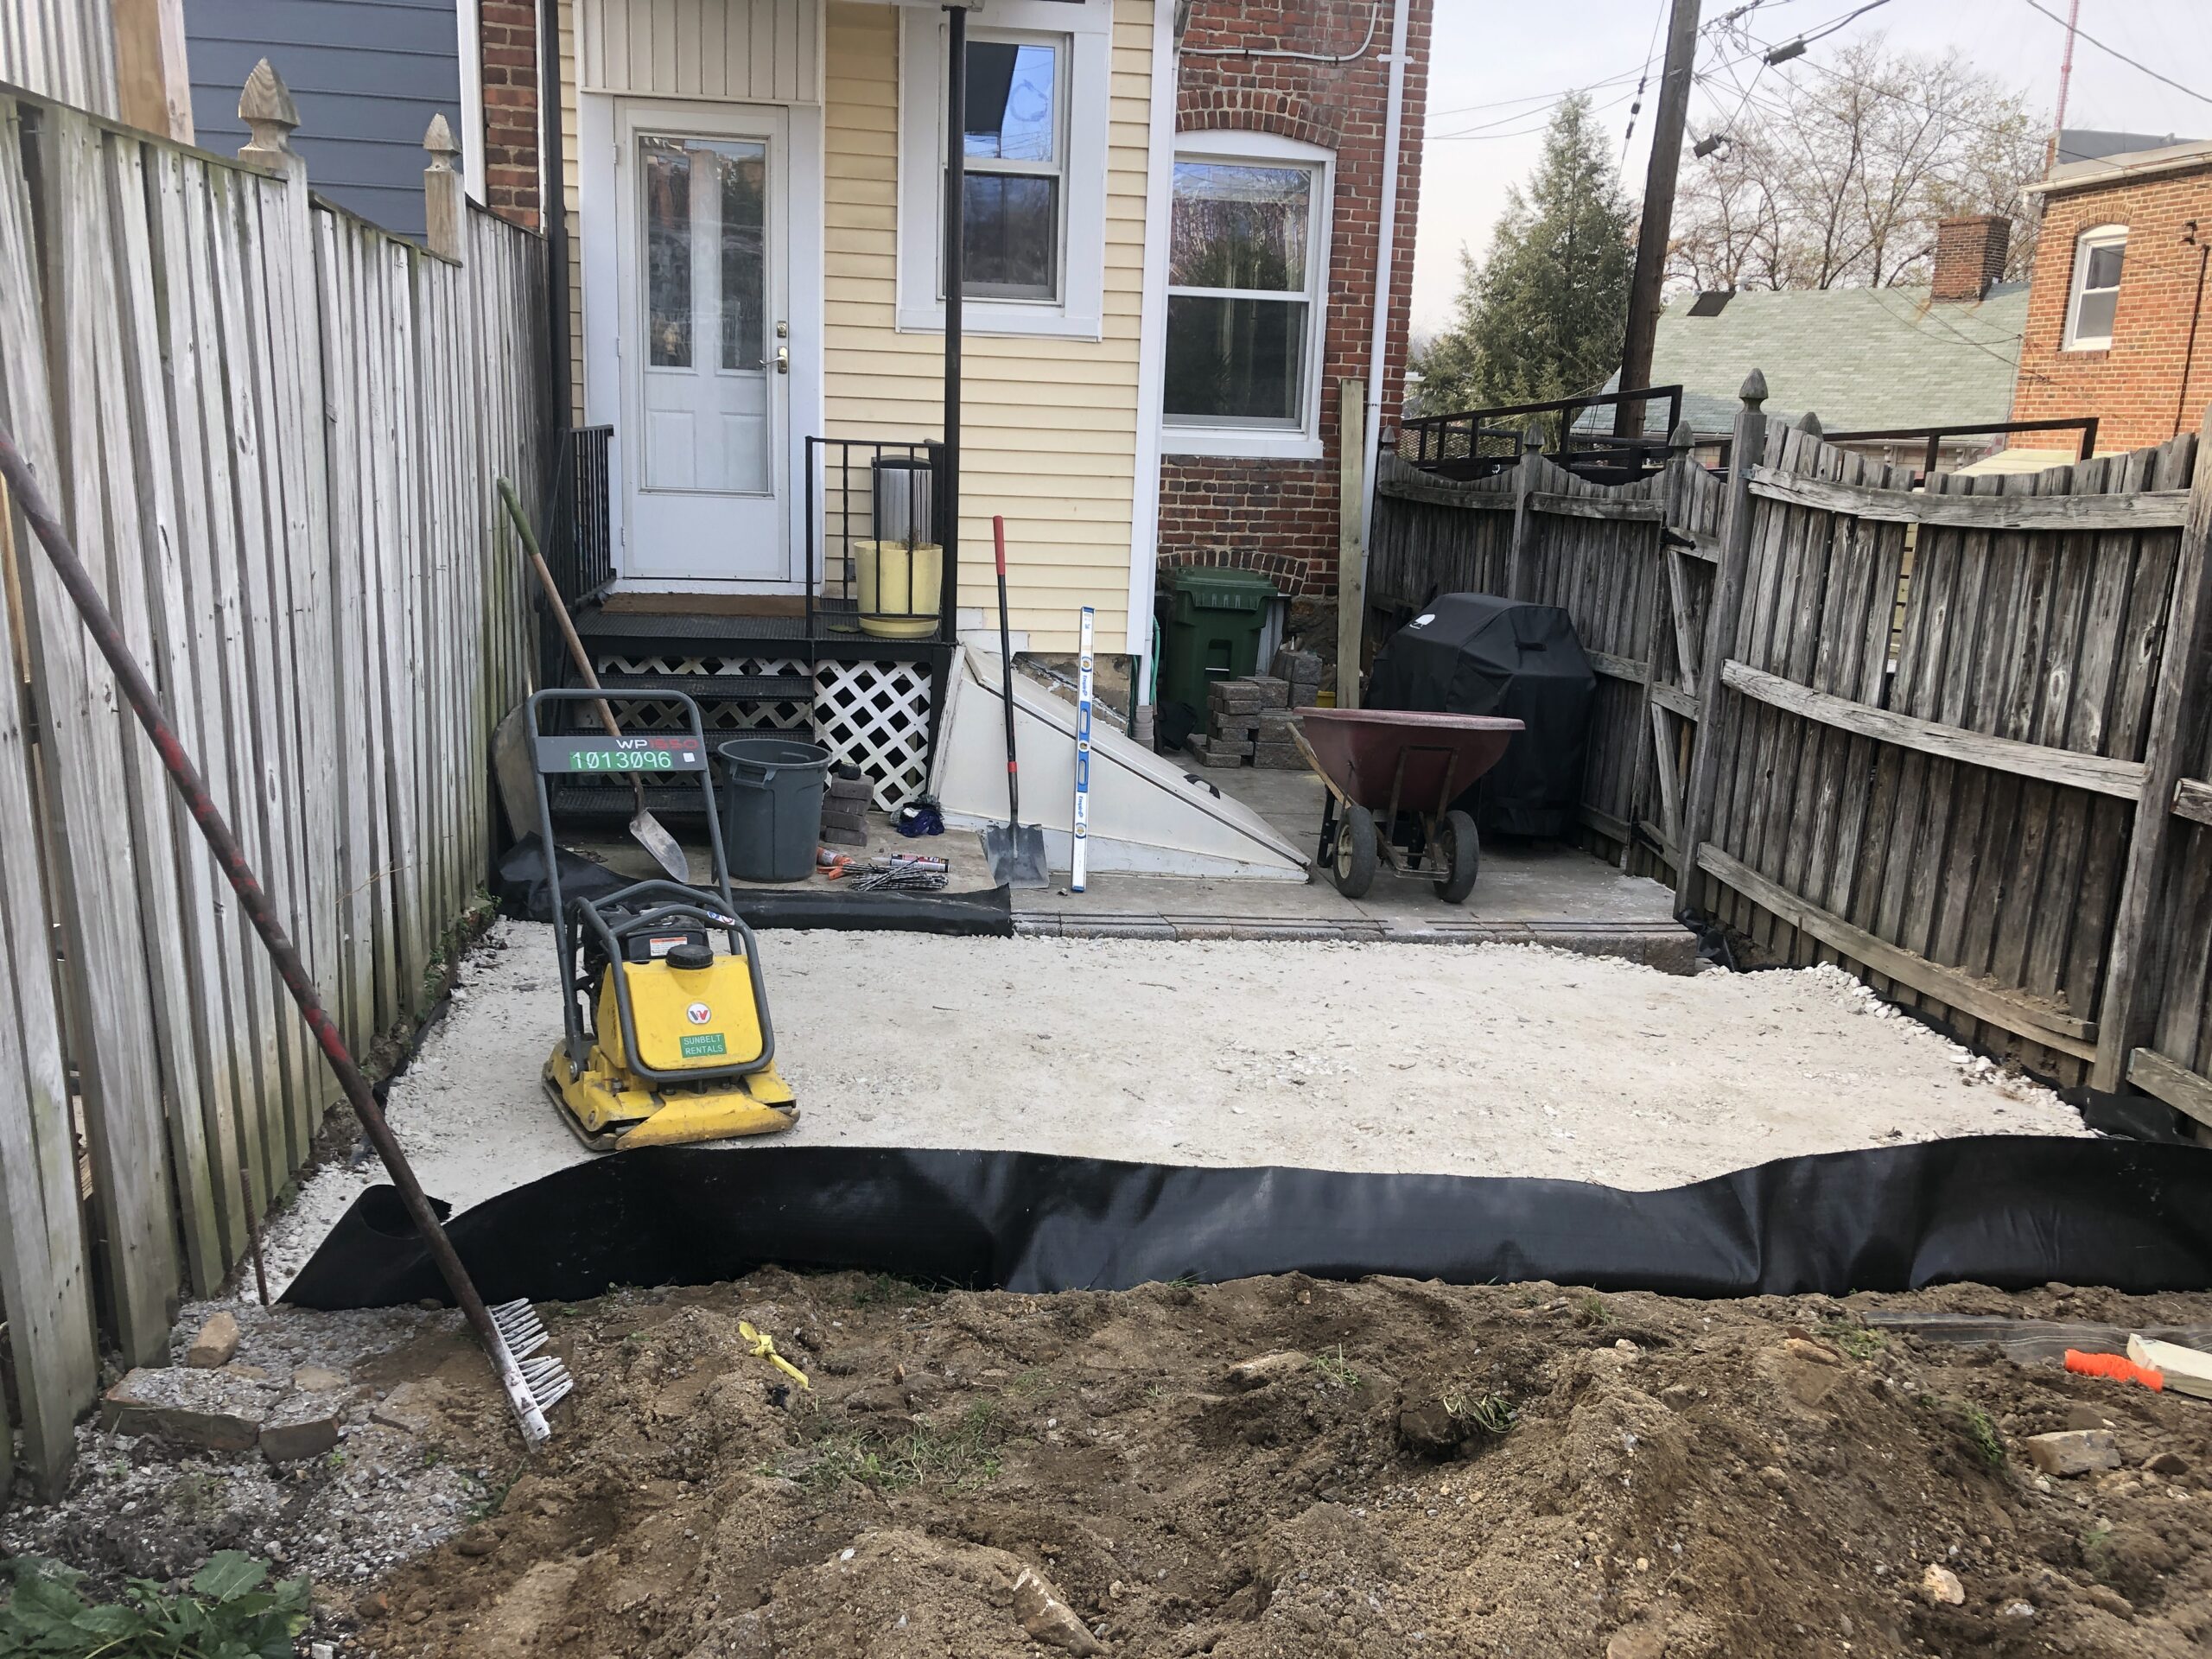
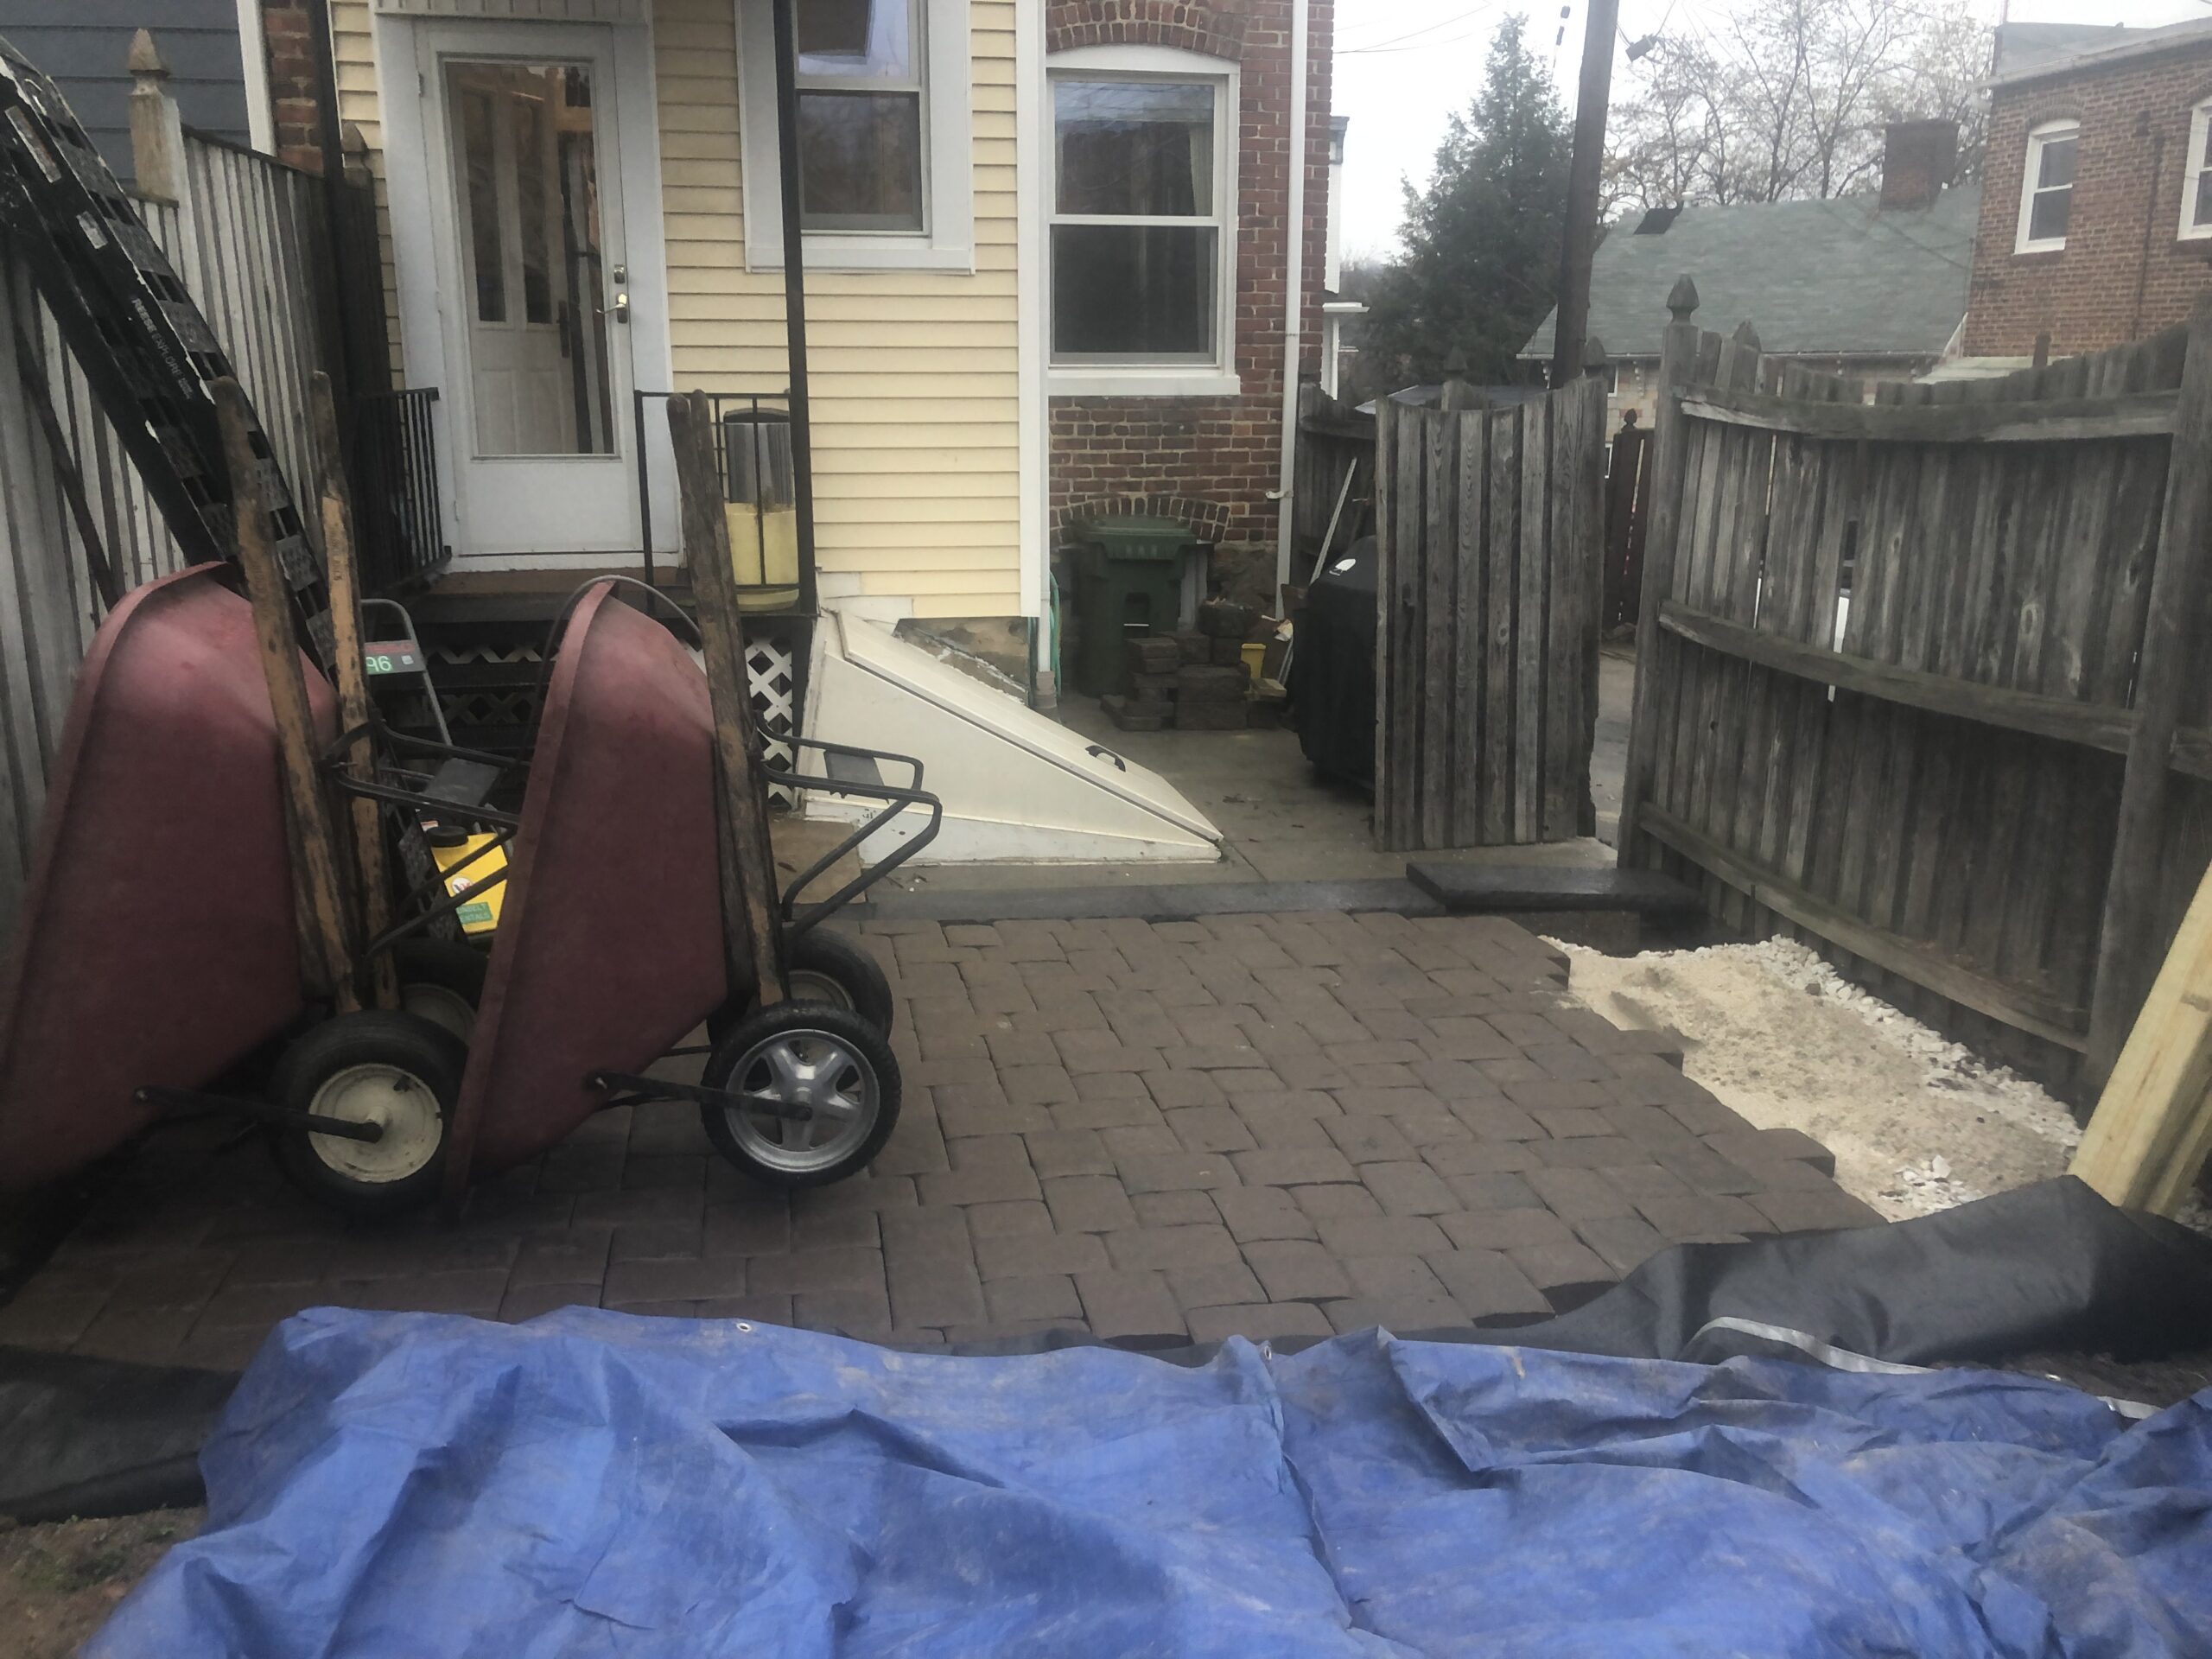
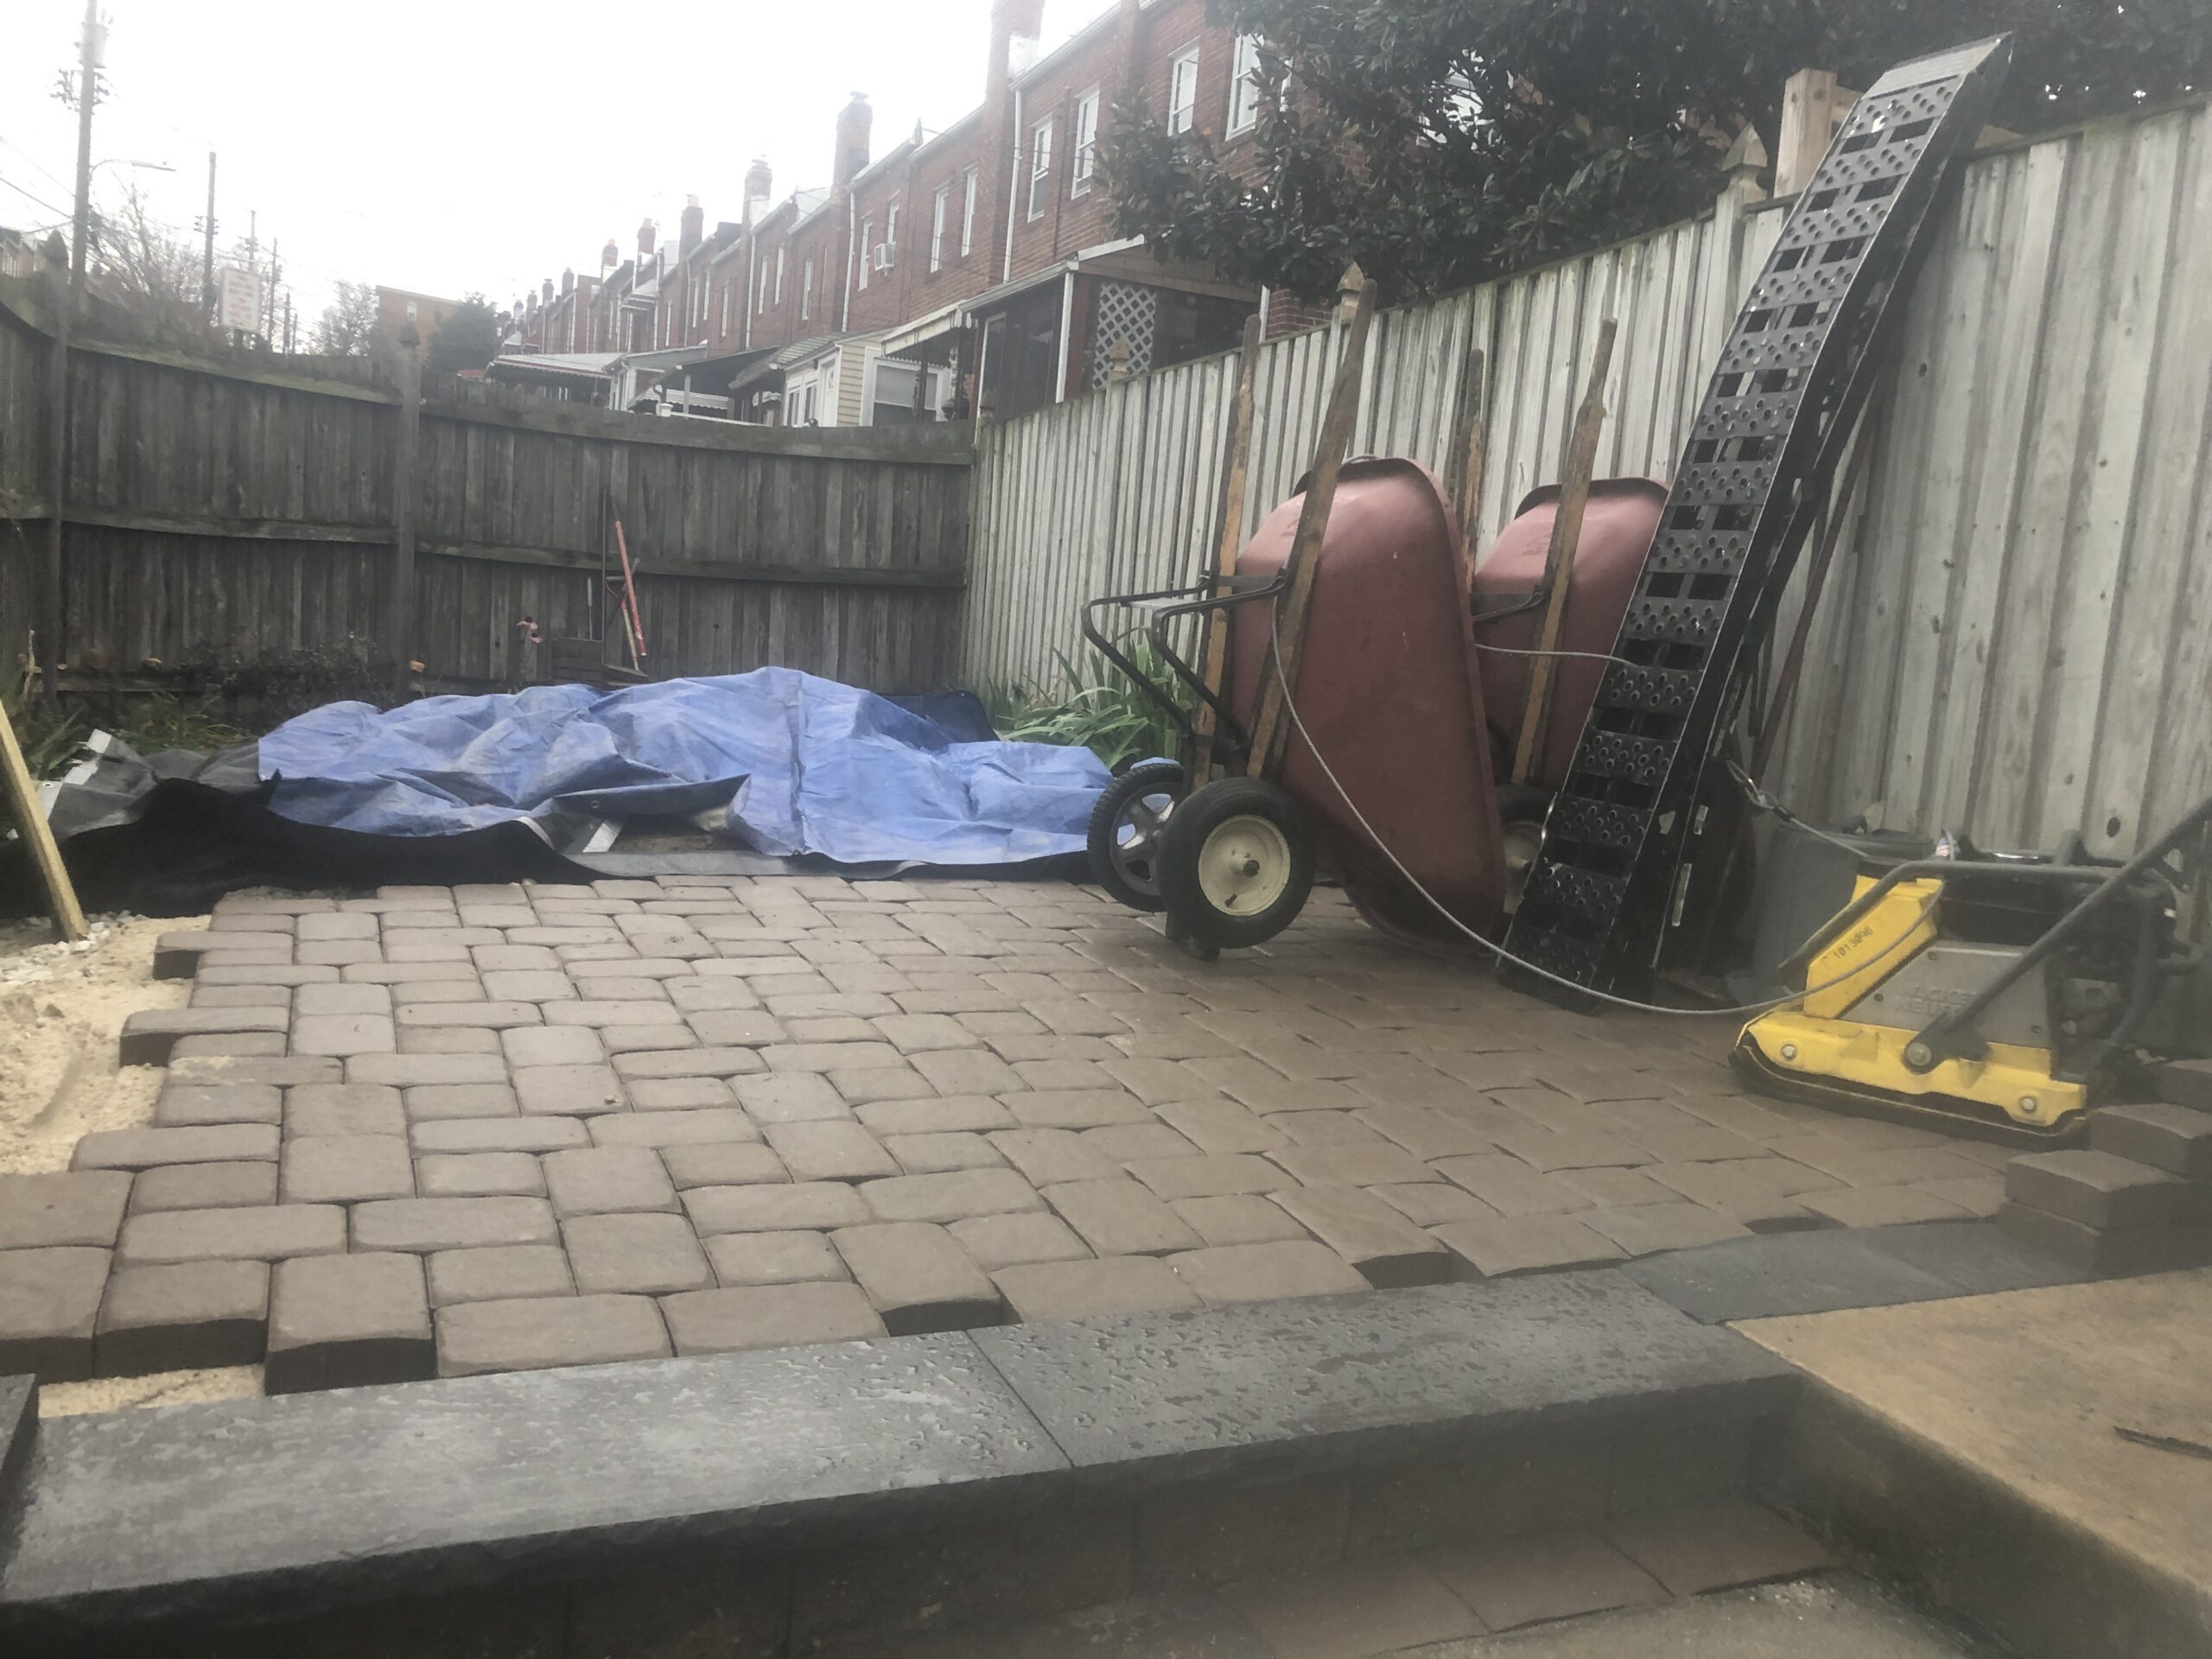
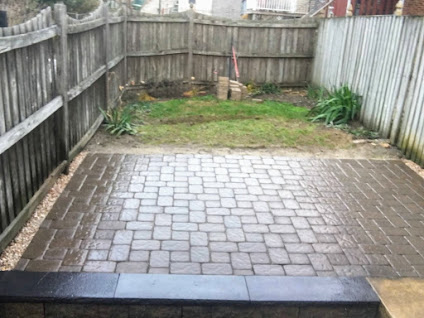
Skip to main content 👋 Hello there!
Free Estimate

Hampden Patio Installation

Converting a small urban yard into an area for gathering and entertaining.

Project Background

In 2020 we were hired to install a small patio in a Hampden back yard. The site required all work to be competed with hand tools since the gate limited access for larger equipment. After meeting with the customer, evaluating the site, and plotting out the installation we began work.

Prep-work and Excavation

We excavated the top 7 inches of soil to prepare for the patio installation. After excavating, we compacted the subsoil with a plate compactor. There were a few other details required for this project. Because of an elevation change, we had to use wall blocks to retain the subsoil and base material of the patio. The trench required for the blocks is also visible in the photo.

Good Projects Need a Strong Foundation

Once the sub soil was graded and compacted the 4″ of base material was installed. We took special care to make sure that the sub soil had a slight slope away from the foundation of the home so that water could move away from any important features. The base material was installed in two 2″ lifts. This method allows us to ensure that there is adequate compaction in the base material.

Proper Planning Makes the Work Easy

This photo shows the wall blocks mentioned earlier. There are multiple elevations that we had to consider at the site. The blocks allowed us to set the finish grade of the patio to a reasonable level when exiting the back of the home.

Setting the Pavers

This photo shows our progress as we installed the paver surface. On the right, the patio setting bed is still visible. The setting bed is a thin layer of sand that allows the pavers to lock together and sit flush after the patio installation. The pavers were carefully laid in the proper pattern so as to not disturb the setting bed and leave a visually interesting design upon completion.

Almost Finished!

The tread had been set on top of the wall blocks for a clean finished appearance. The concrete treads are held in place with special masonry adhesive. Finally, the rest of the pavers could be cut to size and installed.

Final Result

We were really pleased with the finished patio installation. Edging material was installed around the perimeter of the patio so that the pavers do not shift in the future. Although this project had a few challenges such as elevation changes, close quarters, and limited access, we enjoyed solving those problems.